storkcraft sunset 4 in-1 convertible crib manual
Storkcraft Sunset 4-in-1 Convertible Crib Manual: A Comprehensive Guide
This manual provides detailed instructions for assembling and converting the Storkcraft Sunset crib, adapting to your child’s growth.
It covers crib setup, transitioning to a toddler bed, daybed, and full-size bed, ensuring safety and longevity.
The crib features a 3-position adjustable mattress support and a 1-year limited warranty, backed by supportive customer care.
Conversion kits for the full-size bed are available separately, offering a seamless transition as your child matures.
Welcome to the Storkcraft Sunset 4-in-1 Convertible Crib! This crib is designed with both style and functionality in mind, offering a versatile sleep solution that grows with your child. From infancy through childhood, the Sunset crib adapts to your evolving needs, providing a safe and comfortable environment for years to come.
The Sunset crib isn’t just a place for sleep; it’s an investment in your child’s development. Its convertible design allows it to seamlessly transition from a traditional crib to a toddler bed, a convenient daybed, and ultimately, a full-size bed – extending its usability and value.

This manual serves as your comprehensive guide to safely and efficiently assembling, maintaining, and converting your Storkcraft Sunset crib. We’ve included detailed step-by-step instructions, parts lists, and important safety information to ensure a smooth and secure experience. Rest assured, the Tuscany is JPMA certified and meets all federal safety standards, backed by a 1-year limited warranty and dedicated customer support.
Understanding the 4-in-1 Conversion Feature
The Storkcraft Sunset crib’s core strength lies in its remarkable 4-in-1 convertibility. This feature allows the crib to adapt to your child’s changing needs, offering exceptional value and longevity. Initially, it functions as a standard crib, providing a secure and cozy sleep space for infants.
As your child grows and transitions out of the crib stage, the Sunset easily converts into a toddler bed, fostering independence while maintaining a familiar sleep environment. Further adaptation transforms it into a convenient daybed, perfect for naps or playtime.
Finally, with the purchase of a separate conversion kit, the Sunset crib seamlessly transitions into a full-size bed, accommodating your child well into their later years. This eliminates the need to purchase a completely new bed frame, saving you both money and space. The conversion process involves disassembling the crib to utilize the headboard components, offering a cohesive and stylish bedroom aesthetic.
Crib Components and Parts List
The Storkcraft Sunset 4-in-1 Convertible Crib includes a comprehensive set of components designed for easy assembly and long-term use. Key parts include the headboard and footboard, forming the structural foundation of the crib. Two crib side rails ensure your baby’s safety and security within the sleep space.
A mattress support base, adjustable to three different positions, allows you to lower the mattress as your child grows, enhancing safety and convenience. The kit also contains necessary hardware, such as screws, bolts, and wood dowels, for secure fastening.
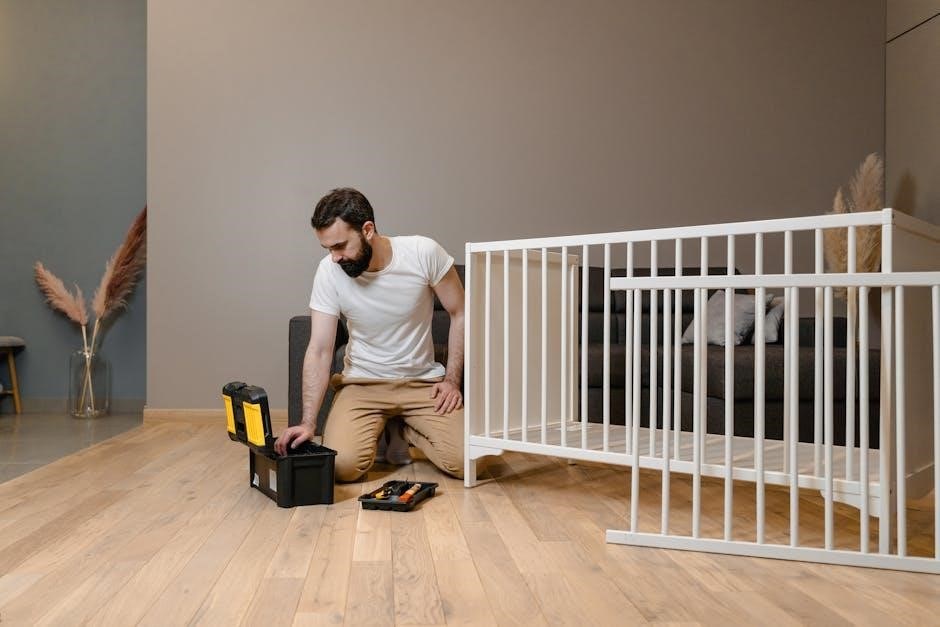
It’s crucial to carefully inventory all parts against the included parts list before beginning assembly. This ensures you have everything needed and identifies any potential missing pieces. Familiarizing yourself with each component’s name and function will streamline the assembly process and prevent errors. Retain this list for future conversions or maintenance.
Tools Required for Assembly
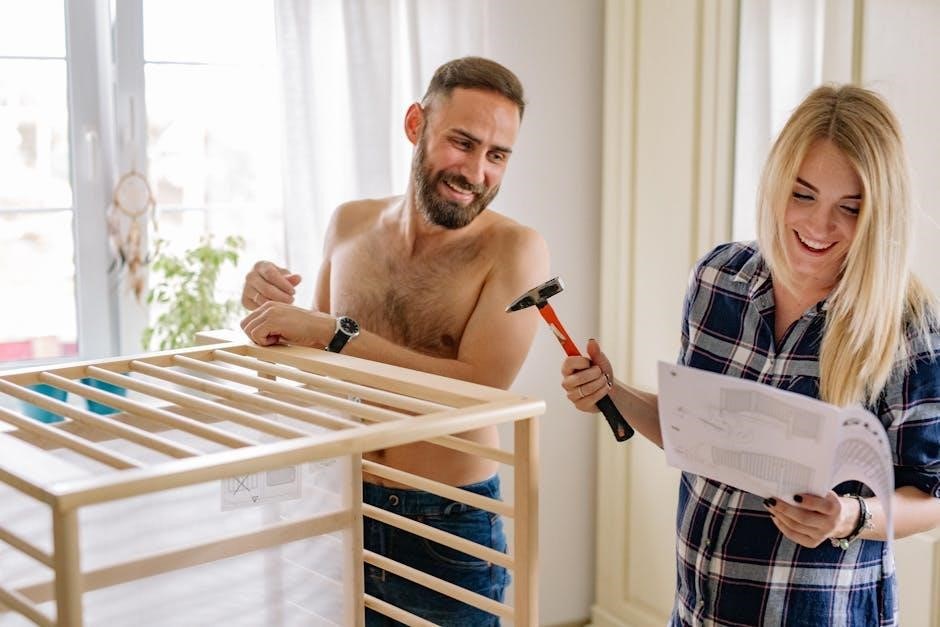
Assembling your Storkcraft Sunset 4-in-1 Convertible Crib requires a few essential tools to ensure a secure and efficient build. A Phillips head screwdriver is paramount for tightening the majority of screws and bolts included in the hardware kit. While a manual screwdriver will suffice, a power screwdriver with adjustable torque settings can significantly speed up the process.
A rubber mallet is highly recommended for gently tapping components together, particularly when inserting wood dowels. This prevents damage to the crib’s finish. A level is crucial for ensuring the crib is perfectly balanced on the floor, contributing to overall stability and safety.
Although not strictly necessary, having a soft cloth on hand is useful for protecting the crib’s surfaces during assembly. Always avoid using excessive force, and refer to the manual for specific torque recommendations to prevent stripping screws or damaging the wood.

Assembly Instructions
Follow these step-by-step instructions carefully for safe and correct assembly, beginning with the crib sides and progressing to the headboard and mattress support.
Secure each component, ensuring a stable structure for your child’s comfort and safety.
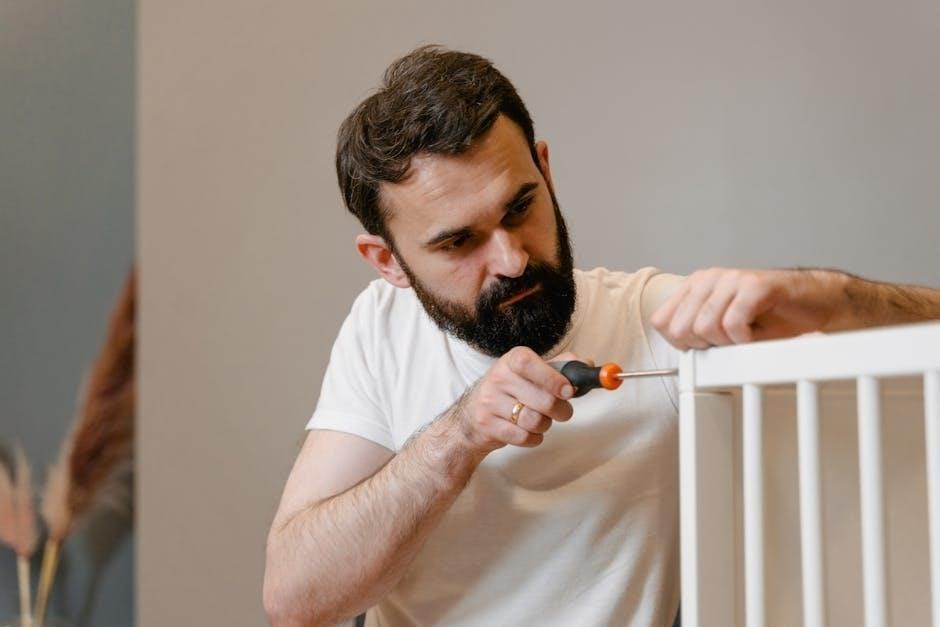
Step 1: Assembling the Crib Sides
Begin by identifying the left and right crib side rails. Carefully attach the plastic inserts to the designated holes along the inner side of each rail; these inserts will house the metal support brackets later.
Next, using the provided hardware – typically cam locks and wood dowels – connect the side rails to the front and rear panels. Ensure the dowels are fully inserted into the pre-drilled holes for a secure fit.
Tighten the cam locks clockwise until they click, firmly locking the panels together. Double-check that all connections are flush and stable.
Pay close attention to the orientation of the side rails, ensuring the pre-drilled holes for the mattress support face inwards. A properly assembled frame is crucial for the crib’s overall stability and safety.
Refer to the diagrams in your manual for visual guidance throughout this process.
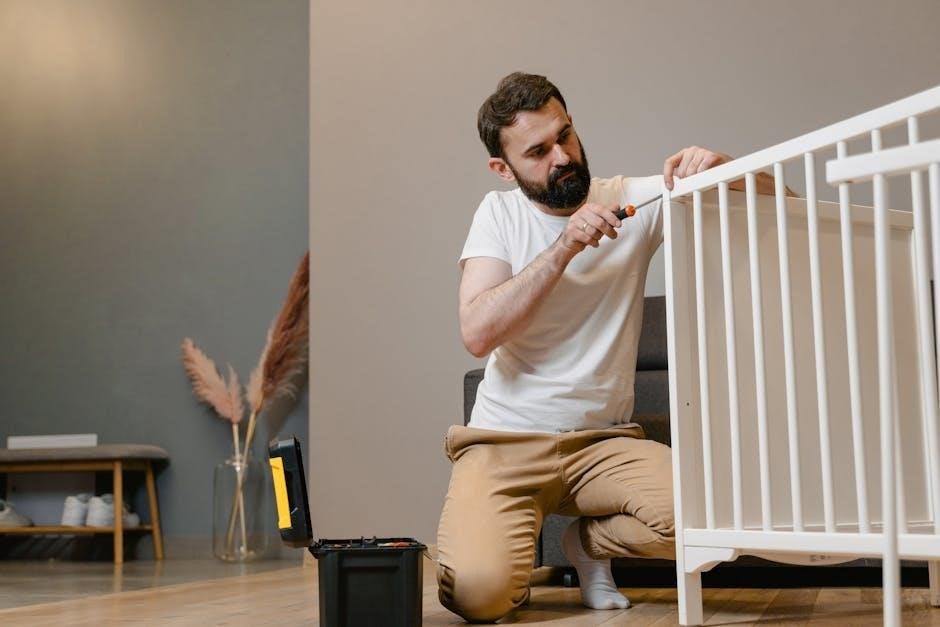
Step 2: Attaching the Headboard and Footboard
With the crib sides assembled, carefully position the headboard and footboard. Align the pre-drilled holes on the headboard and footboard with those on the assembled side rail structure.
Utilize the provided bolts and washers to secure the headboard and footboard to the side rails. Hand-tighten the bolts initially to allow for adjustments, ensuring proper alignment before fully tightening.
Once aligned, use the Allen wrench (included in the hardware pack) to firmly tighten all bolts. Avoid over-tightening, as this could damage the wood.
Verify that the headboard and footboard are securely attached and do not wobble. A stable connection is vital for the crib’s structural integrity and your child’s safety.
Double-check all connections, referencing the assembly diagrams for correct bolt placement and tightening sequence.
Step 3: Installing the Mattress Support
With the crib frame assembled, it’s time to install the mattress support system. The Storkcraft Sunset crib features a 3-position adjustable mattress support, allowing you to lower the mattress height as your baby grows.
Locate the mattress support hooks within the crib frame. Select the desired height setting – typically the highest setting is used for newborns.
Carefully insert the metal mattress support into the corresponding hooks, ensuring it is securely seated on all sides. Verify that the support is level and stable.
Double-check that the support is firmly in place before proceeding. A properly installed mattress support is crucial for safe sleep.
Remember, a correctly fitted mattress is essential; gaps between the mattress and crib sides pose a safety hazard.
Step 4: Securing the Crib Structure
Now that the main components are connected, it’s vital to secure the entire crib structure for stability and safety. Begin by systematically checking all bolts, screws, and fasteners used during the previous assembly steps.
Using the provided Allen wrench or screwdriver, tighten each fastener firmly, but avoid over-tightening, which could damage the wood. Pay close attention to the connections between the headboard, footboard, and side rails.
Ensure all screws are flush with the surface and that no sharp edges or protruding hardware are present. Regularly inspect these connections, as they can loosen over time with use.
A secure crib structure prevents wobbling and minimizes the risk of accidental disassembly. Prioritize safety by confirming the crib’s overall stability before use.
This final step ensures a safe and reliable sleeping environment for your child.

Conversion Options
The Storkcraft Sunset crib adapts with your child, easily converting into a toddler bed, daybed, and full-size bed for lasting use.
Conversion kits are sold separately to facilitate the transition to a full-size bed.
Converting to a Toddler Bed
Transitioning your Storkcraft Sunset crib into a toddler bed is a straightforward process, designed to accommodate your growing child’s increasing independence. This conversion typically involves removing one side rail of the crib, creating a safe and accessible opening for your toddler to get in and out of bed independently.
Carefully follow the assembly manual’s specific instructions for removing the appropriate side rail and ensuring all remaining components are securely fastened. It’s crucial to maintain a low mattress height during the toddler bed phase, providing easy access while minimizing the risk of falls.
Always use a compatible toddler guardrail (often sold separately) for added safety and peace of mind. Regularly inspect the toddler bed setup to confirm all parts remain secure and stable, ensuring a safe sleep environment for your little one as they transition to this exciting new stage.
Converting to a Daybed
Transforming your Storkcraft Sunset crib into a daybed offers a versatile sleep and relaxation space as your child grows. This conversion generally involves removing both side rails of the crib, leaving only the headboard and footboard intact. This creates an open-sided bed that can function as both a daytime lounging area and a nighttime sleep space.
Refer to the detailed instructions in your crib’s assembly manual for the precise steps involved in removing the side rails and ensuring the stability of the resulting daybed structure. It’s important to position the daybed away from walls and potential hazards to prevent accidental bumps or injuries.
Consider adding comfortable cushions and pillows to enhance the daybed’s functionality and appeal. Regularly inspect the daybed for any loose components or signs of instability, maintaining a safe and inviting environment for your child.
Converting to a Full-Size Bed – Headboard & Footboard Usage
The Storkcraft Sunset crib is designed to transition into a full-size bed, utilizing the existing headboard and footboard components. This conversion requires a separate full-size bed conversion kit, which includes the necessary side rails and support structures. The kit is sold separately and is essential for a safe and stable full-size bed.
Begin by disassembling the crib completely, carefully retaining the headboard and footboard. Attach the conversion kit’s side rails to the headboard and footboard, following the kit’s specific instructions. Ensure all connections are secure and properly tightened.
A box spring and full-size mattress are required to complete the conversion. Always adhere to the manufacturer’s weight recommendations for both the mattress and the assembled bed frame, prioritizing safety and stability.
Full-Size Bed Conversion Kit (Sold Separately)
To convert your Storkcraft Sunset crib into a full-size bed, a dedicated conversion kit is required and is available for separate purchase. This kit is not included with the crib itself, allowing parents to delay the purchase until the transition is needed.
The conversion kit typically includes two full-size bed rails, designed to securely attach to the existing headboard and footboard of the crib. These rails provide the necessary support and containment for a standard full-size mattress.
Ensure the kit you purchase is specifically designed for compatibility with the Storkcraft Sunset model to guarantee a proper fit and safe assembly. Always follow the detailed instructions included with the conversion kit during installation, prioritizing secure connections and stability. A box spring and full-size mattress are also necessary for completion.

Safety Information & Warnings
Prioritize your child’s well-being by adhering to all safety guidelines. Ensure proper mattress fit, secure crib placement, and regular inspections for loose hardware.
JPMA certification and federal safety standards compliance offer peace of mind.
Mattress Fit and Selection
Selecting the correct mattress is paramount for your baby’s safety. Always use a mattress specifically designed to fit the Storkcraft Sunset 4-in-1 Convertible Crib dimensions precisely. A snug fit is crucial; there should be no gaps exceeding two fingers between the mattress and the crib sides.
This prevents entrapment hazards. The mattress should be firm and flat, conforming to federal safety standards. Avoid using soft mattresses, pillows, or loose bedding within the crib, as these pose suffocation risks.
Regularly check the mattress for any signs of damage or wear. Ensure the mattress support base is securely installed and at the appropriate height as your child grows, utilizing the three available positions. A properly fitted and maintained mattress is a cornerstone of a safe sleep environment for your little one.
Remember, a mattress not included with the crib must meet these stringent requirements.
Crib Placement and Room Safety
Proper crib placement is vital for a safe nursery environment. Position the Storkcraft Sunset crib away from windows, cords, and blinds, minimizing potential hazards like strangulation or falls. Ensure the crib is situated on a level surface, away from radiators, heaters, and direct sunlight.
Maintain a safe zone around the crib, free from furniture your child could climb on to reach the crib’s edges. Regularly inspect the surrounding area for loose objects or potential dangers.
Consider using a room thermometer to maintain a comfortable temperature. Avoid placing decorative items within the crib that could pose a suffocation risk. Prioritize a clutter-free space, promoting a secure and peaceful sleep environment for your baby. A safe room contributes significantly to your child’s well-being.
Always supervise your child closely.
Regular Maintenance and Inspection
Consistent maintenance ensures the longevity and safety of your Storkcraft Sunset crib. Routinely inspect all components for signs of wear, damage, or loose hardware. Pay close attention to the crib sides, headboard, footboard, and mattress support system.
Periodically check for splinters or rough edges, addressing them immediately to prevent injury. Clean the crib regularly with a damp cloth and mild soap, avoiding abrasive cleaners.
Ensure all screws and bolts remain securely tightened, as outlined in the assembly instructions. A proactive approach to maintenance safeguards against potential hazards. Regularly scheduled inspections, combined with prompt repairs, will maintain a secure and comfortable sleep environment for your child. Prioritize safety through diligent upkeep.
Do not modify the crib in any way.
Hardware Checks and Tightening
Maintaining secure hardware is paramount for crib stability and safety. Regularly – at least monthly – inspect all screws, bolts, and other fasteners. Gently attempt to wiggle each piece; any movement indicates a need for tightening. Use the appropriate tools as specified in the assembly instructions to avoid stripping the screw heads.
Focus on connections between the crib sides, headboard, footboard, and mattress support. Pay particular attention after initial assembly and after any conversion adjustments.
Do not overtighten, as this can damage the wood. If you encounter stripped screws, replace them immediately with identical replacements; A loose connection can compromise the crib’s structural integrity. Consistent hardware checks are a crucial preventative measure, ensuring a safe sleep environment for your child.
Address any looseness promptly.

Warranty Information
Storkcraft offers a 1-year limited warranty covering manufacturing defects on the Sunset 4-in-1 crib.
This warranty doesn’t cover labor or costs related to installation or misuse.
Storkcraft Limited Warranty Details
The Storkcraft Limited Warranty safeguards against defects in materials and workmanship for one year from the original purchase date. This warranty extends only to the original purchaser of the Sunset 4-in-1 Convertible Crib and is non-transferable. It covers issues arising from normal use, as determined by Storkcraft.
Specifically, the warranty addresses flaws in the crib’s construction, including structural components and hardware. Storkcraft, at its discretion, will repair or replace any defective part, without charge, upon proof of purchase. However, the warranty explicitly excludes damage resulting from misuse, abuse, alteration, or improper assembly.
Furthermore, it does not cover normal wear and tear, scratches, or fading that may occur over time. Storkcraft is not responsible for labor costs associated with repair or replacement, nor for any incidental or consequential damages. Maintaining proof of purchase is crucial for warranty claims.
Warranty Claim Process
To initiate a warranty claim for your Storkcraft Sunset 4-in-1 Convertible Crib, first gather your original proof of purchase – a receipt or invoice is essential. Contact Storkcraft Customer Support via their website or phone number, providing your purchase details and a clear description of the defect.
You may be asked to submit photographic or video evidence of the issue to aid in the assessment. Storkcraft will review your claim and, if approved, provide instructions for either repair or replacement of the defective part.
Returned parts may need to be shipped back to Storkcraft at your expense, depending on the specific situation. Storkcraft will then ship the replacement part to you, typically free of charge. Please retain all packaging materials until the claim is fully resolved.
What the Warranty Covers
The Storkcraft Limited Warranty safeguards against manufacturing defects in materials and workmanship for a period of one year from the original purchase date. This coverage encompasses defects that impact the functionality or structural integrity of the Sunset 4-in-1 Convertible Crib. Specifically, it includes issues with the crib’s frame, hardware, and conversion components;
The warranty ensures that the crib is free from flaws in design, assembly, or the quality of the materials used. Storkcraft will, at their discretion, repair or replace any defective parts during the warranty period. This warranty extends only to the original purchaser and is non-transferable.
Proper assembly and use, following the provided manual instructions, are prerequisites for warranty validity.
What the Warranty Does Not Cover
The Storkcraft Limited Warranty explicitly excludes coverage for damages resulting from misuse, abuse, or improper assembly of the Sunset 4-in-1 Convertible Crib. Normal wear and tear, including scratches, dents, or fading, are also not covered under the warranty terms.
Furthermore, the warranty does not extend to labor costs associated with installation, repair, or replacement of parts. Damage caused by alterations, modifications, or the use of non-Storkcraft components voids the warranty. Storkcraft is not responsible for labor or other costs incurred by the consumer related to installation.
Incidental or consequential damages are also excluded, as is any damage resulting from accidents or acts of nature. The warranty is void if the product is used in a commercial setting.

Troubleshooting Common Issues
Addressing loose screws, squeaking sounds, or missing parts is easily resolved; contact Storkcraft customer support for assistance and replacement components if needed.
Addressing Loose Screws
Regularly inspect all screws and hardware components of the Storkcraft Sunset crib to ensure they remain securely tightened. Over time, with normal use and the natural settling of wood, screws can loosen, potentially compromising the crib’s stability and safety.
Use the appropriate Allen wrench or screwdriver (as indicated in the assembly instructions) to carefully tighten any loose screws. Avoid over-tightening, as this could strip the screw holes or damage the wood. If a screw hole appears stripped, consider using a small amount of wood glue and a toothpick to reinforce the hole before re-inserting the screw.
Pay particular attention to screws connecting the crib sides, headboard, footboard, and mattress support. A proactive approach to tightening screws is crucial for maintaining a safe and secure sleep environment for your child. Consistent checks, ideally monthly, will help prevent issues before they arise. If you encounter persistent loosening, discontinue use and contact Storkcraft customer support for guidance.
Dealing with Squeaking Sounds
Squeaking sounds during movement are common in wood furniture, including the Storkcraft Sunset crib, and usually don’t indicate a structural issue. These sounds often arise from friction between wood components as they expand and contract with changes in temperature and humidity.
To address squeaking, first, systematically check all screws and bolts, ensuring they are firmly tightened. If tightening doesn’t resolve the issue, a small amount of food-grade silicone lubricant can be applied to the joints where the squeaking originates – for example, where the mattress support frame connects to the crib sides.
Avoid using oil-based lubricants, as these can damage the wood finish. Gently rock the crib to identify the precise source of the noise. If the squeaking persists or seems to be coming from within the wood itself, contact Storkcraft customer support for further assistance. Regular maintenance and proper assembly are key to minimizing squeaking.
Missing Parts – Contacting Customer Support
If you discover any components are missing from your Storkcraft Sunset crib package, do not attempt to assemble the crib using substitute parts. Using incorrect or non-approved components could compromise the crib’s structural integrity and safety.
To request missing parts, promptly contact Storkcraft customer support. Have your crib model number (often found on the packaging or a sticker on the headboard) and a detailed list of the missing items readily available. Providing photos of the parts list from the manual can expedite the process.
You can reach Storkcraft customer support through their website, via email, or by phone. Be prepared to provide proof of purchase, such as a copy of your receipt. Storkcraft is committed to ensuring you have all the necessary parts for a safe and complete assembly.